

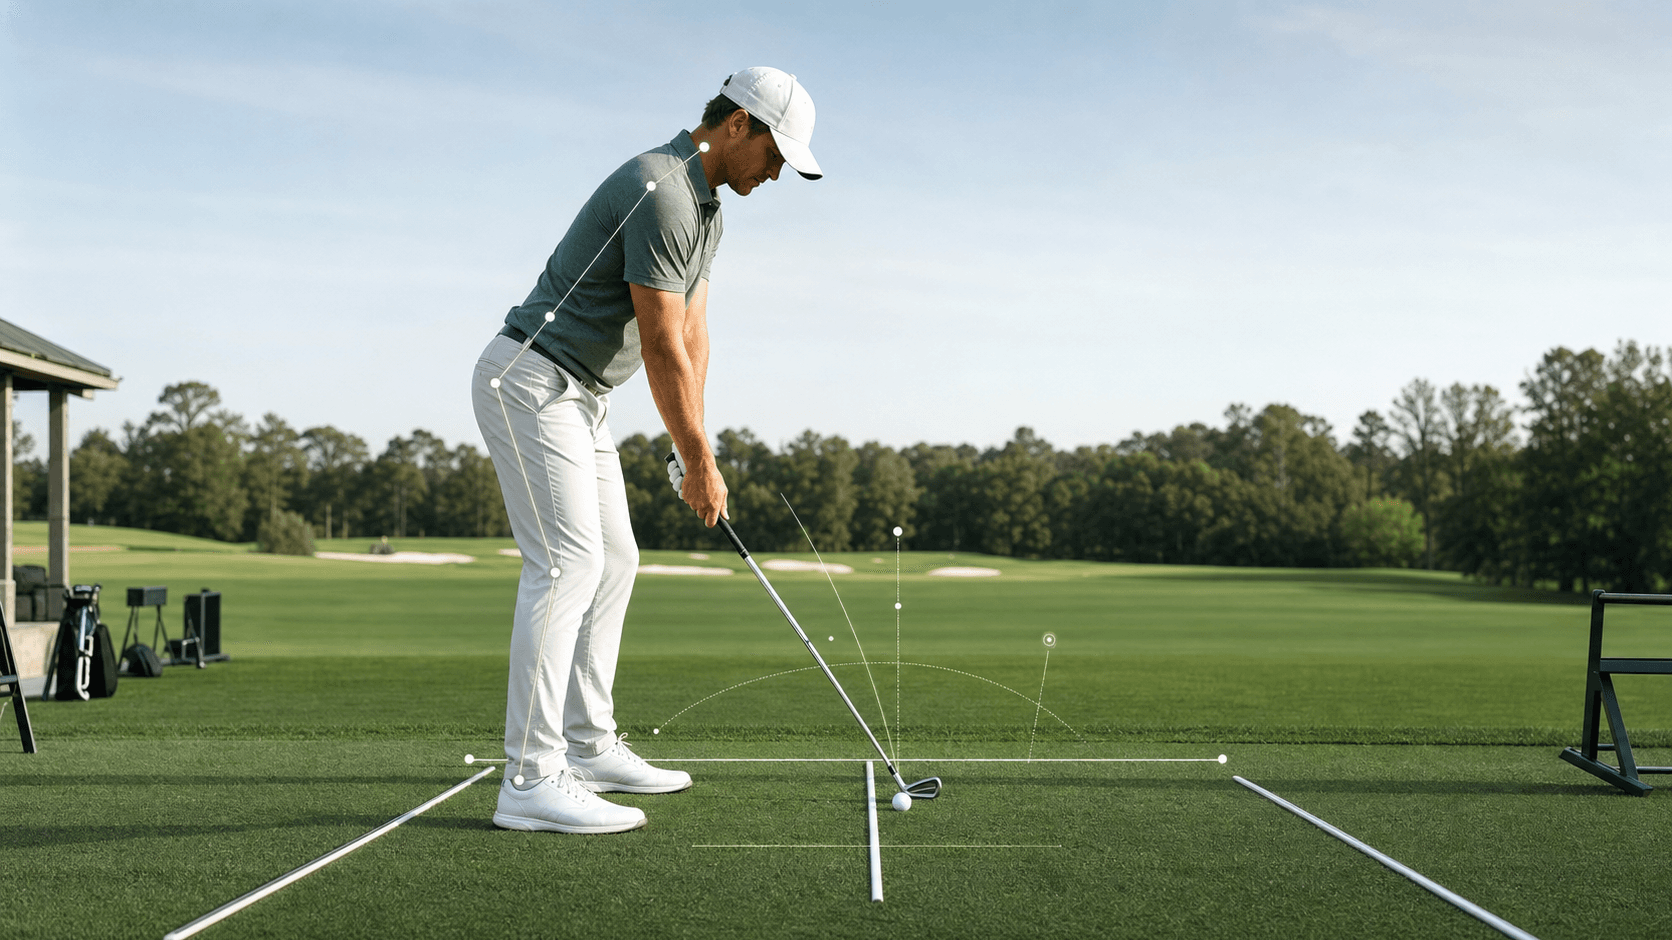
A consistent and powerful golf swing often begins with a fundamental movement: the shoulder turn. For many amateur golfers, understanding and executing a proper shoulder turn can unlock significant improvements in both distance and accuracy. This article provides a straightforward checklist to help you assess and refine your shoulder turn, ensuring it serves as a solid foundation for your swing.
The shoulder turn is not just about moving your arms; it's about rotating your upper body around your spine, creating the coil and potential energy needed for an effective downswing. Without a proper turn, golfers often compensate with their arms and hands, leading to inconsistent strikes, slices, hooks, and a general lack of power. Let's break down what a good shoulder turn looks like and how you can achieve it.
Quick Answer
A proper shoulder turn for amateur golfers involves rotating your upper body around a stable spine angle, aiming for approximately 90 degrees of shoulder rotation relative to the target line, while allowing your hips to turn about half that amount (45 degrees). This creates a powerful coil, shifts weight naturally to your trail side, and keeps your head relatively stable. Focus on turning your lead shoulder behind the ball and maintaining your posture throughout the backswing.
Understanding the Shoulder Turn
At its core, the shoulder turn is the rotation of your shoulders, chest, and upper back during the backswing. It's the engine that generates clubhead speed and allows you to hit the ball with authority. Think of it as winding up a spring. The more effectively you coil your upper body against a stable lower body, the more energy you can release into the ball.
Many amateur golfers mistakenly believe the backswing is primarily an arm lift. While the arms do move, they should be driven by the rotation of the torso. When the arms lift independently, it often leads to a narrow swing arc, a loss of power, and a tendency to come over the top. A correct shoulder turn, however, ensures the club stays on plane, creates width, and positions you perfectly for the downswing.
The Shoulder Turn Checklist for Amateur Golfers
Let's go through the essential elements of a good shoulder turn, step by step. Use this as a guide to evaluate your own swing, perhaps with the help of a mirror or a recorded video.
1. Setup Foundation
The quality of your shoulder turn begins before you even take the club back. Your setup dictates your ability to rotate freely and maintain balance.
- Posture: Stand tall but relaxed, with a slight bend at your knees and hips. Your spine should be relatively straight, tilted slightly forward from the hips. Avoid hunching or standing too upright. Good posture allows your shoulders to rotate on a consistent plane.
- Weight Distribution: At address, your weight should be balanced, perhaps slightly favoring the balls of your feet. This stable base prevents swaying during the backswing.
- Alignment: Ensure your shoulders, hips, and feet are aligned parallel to your target line. Incorrect alignment can force compensations in your turn.
2. Initiating the Turn
The start of your backswing is crucial. It should be a connected movement, not a disjointed one.
- One-Piece Takeaway: Ideally, your shoulders, arms, and club should move away from the ball together in a "one-piece" motion for the first foot or so. This prevents the arms from working independently too early.
- Lead Shoulder Focus: As you begin the backswing, feel your lead shoulder (left shoulder for a right-handed golfer) moving down and around, behind the ball. This sensation helps initiate the body rotation rather than just an arm lift.
- Smoothness: The takeaway should be smooth and controlled, not jerky or rushed. A smooth start promotes a full, unhurried turn.
3. Depth of Turn: How Far?
The goal is to achieve a full and deep shoulder turn without sacrificing control or balance.
- Target Rotation: For most amateur golfers, aiming for approximately 90 degrees of shoulder turn relative to the target line is ideal. This means your lead shoulder should finish roughly over your trail foot.
- Hip Involvement: While the shoulders turn significantly, your hips should turn less – typically around 45 degrees. This difference in rotation between the shoulders and hips creates the "X-factor" or coil, which is a primary source of power.
- Avoid Over-Rotating Hips: If your hips turn too much (more than 60 degrees), you lose the coil and often struggle to generate power efficiently.
4. Maintaining Spine Angle
This is a critical element often overlooked. Your spine angle, established at address, should be maintained throughout the backswing.
- No Standing Up: Avoid straightening your legs or lifting your upper body during the backswing. This "standing up" motion changes your spine angle, lifts the club off plane, and makes consistent contact difficult.
- No Slumping: Conversely, don't let your upper body collapse or slump forward. Maintain the slight forward tilt from your hips.
- Turning Around the Axis: Imagine a rod running through your spine. Your shoulders should rotate around this axis, not sway off it.
5. Weight Shift
A proper shoulder turn naturally facilitates a correct weight shift.
- Trail Side Load: As your shoulders turn, your weight should naturally shift to the inside of your trail foot (right foot for a right-handed golfer). This loading of the trail side is essential for generating power on the downswing.
- Avoid Reverse Pivot: Do not let your weight shift to your lead side during the backswing. This is known as a reverse pivot and severely limits power and consistency.
6. Head Position
While the body rotates, maintaining a relatively stable head position is key.
- Stable, Not Still: Your head doesn't need to be rigidly still, but it should remain within the confines of your address position. Allow for slight movement, but avoid excessive swaying or lifting.
- Looking at the Ball: Keep your eyes focused on the ball throughout the backswing. This helps maintain your head's position and, by extension, your spine angle.
Common Shoulder Turn Faults and Fixes
Let's address some of the most common issues amateur golfers face with their shoulder turn, offering a clear reason and a practical fix for each.
Issue 1: Insufficient Turn (Arms-Only Swing)
- Observation: The club goes back, but your chest and shoulders barely rotate. It looks like you're lifting the club primarily with your arms.
- Reason: Many golfers try to generate speed with their arms, or they're afraid of losing sight of the ball if they turn their body. This leads to a narrow swing arc and a lack of power.
- Fix: Focus on feeling your lead shoulder move *behind* the ball. Imagine you're trying to point your lead shoulder at the ball's position from the top of your backswing. This encourages full body rotation. Practice without a club, crossing your arms over your chest, and feeling the full turn.
Issue 2: Reverse Pivot (Swaying Off the Ball)
- Observation: Your upper body shifts significantly towards the target during the backswing, causing your weight to move to your lead side.
- Reason: This often stems from an attempt to create power by shifting weight rather than rotating. It can also be a compensation for a perceived lack of flexibility.
- Fix: Keep your head relatively stable and focus on turning *around* your spine. Imagine a wall behind you; try to keep your trail hip from bumping into it excessively as you turn. The goal is to coil, not to slide. Feel the pressure build on the inside of your trail foot.
Issue 3: Standing Up / Loss of Posture
- Observation: Your torso straightens up, and you lose the forward bend established at address during the backswing.
- Reason: This can happen if you try to lift the club too much, or if you're subconsciously trying to create more room for your arms. It often leads to topping the ball or hitting thin shots.
- Fix: Maintain your knee flex and spine angle throughout the backswing. Think of staying "in your posture." A good drill is to practice your backswing with a club across your chest, ensuring the end of the club doesn't lift significantly from your original address height.
Practical Checkpoint: The "Lead Shoulder Over Trail Foot" Check
This simple checkpoint allows you to quickly assess the depth and quality of your shoulder turn.
How to Perform:
- Set up to an imaginary ball as usual.
- Make your backswing, focusing on a full, connected shoulder turn.
- At the top of your backswing, pause and check the position of your lead shoulder (left shoulder for a right-handed golfer).
- The Check: Your lead shoulder should be positioned directly over, or slightly inside, your trail foot (right foot for a right-handed golfer). If your lead shoulder is still significantly in front of your chest or over your lead foot, you likely have an insufficient turn. If it's too far outside your trail foot, you might be swaying excessively.
This visual cue helps ensure you're achieving enough rotation without overdoing it or swaying off the ball.
Named Drill/Test: The "Wall Turn Drill"
This drill is excellent for feeling a proper, rotational shoulder turn while maintaining your spine angle and preventing sway.
How to Perform:
- Setup: Stand with your trail hip (right hip for a right-handed golfer) about 4-6 inches away from a wall. Assume your normal golf posture, holding a club across your chest with your arms crossed (or just crossing your arms).
- The Turn: Slowly make your backswing, focusing on turning your shoulders.
- The Goal: As you turn, your trail hip should *gently* brush or touch the wall. Your lead shoulder should rotate around and behind you.
- What to Avoid:
- Banging the Wall: If you forcefully hit the wall with your hip, you're swaying too much.
- Not Touching the Wall: If your hip doesn't come close to the wall, you're likely not turning enough or are swaying away from the target.
- Lifting Off the Wall: If your hip moves away from the wall, you're likely standing up out of your posture.
Benefits: The Wall Turn Drill provides immediate feedback on your hip rotation, sway, and ability to maintain your spine angle during the shoulder turn. It helps you feel the proper coil and rotation around a stable axis.
The Downswing Connection
A well-executed shoulder turn in the backswing is not an end in itself; it's the critical setup for an effective downswing. When you achieve a full, coiled turn, you've stored potential energy. This energy can then be unleashed by initiating the downswing with your lower body, allowing your shoulders and arms to follow naturally. Without a proper backswing turn, you'll find yourself trying to "hit" the ball with your arms, leading to a loss of power and control.
When to Seek Further Guidance
While this checklist and drill are useful self-review tools, an independent qualified golf professional is the appropriate choice when you want expert, in-person feedback on your shoulder turn.
For a self-service AI checkpoint, upload one clear MP4 or MOV clip no longer than 15 seconds. Chubbs is AI, not a human professional; it can flag one visible priority and suggest one likely reason, fix, and drill to test, but it cannot pinpoint a cause or measure shoulder turn. Use a separate upload for a later swing, and start an AI coaching conversation to add the miss, club, goal, and feel.
Quick Checklist for a Proper Shoulder Turn
- Solid Setup: Good posture, balanced weight, proper alignment.
- One-Piece Takeaway: Shoulders, arms, club move together initially.
- Lead Shoulder Focus: Feel your lead shoulder move down and behind the ball.
- Deep Turn: Aim for ~90 degrees shoulder turn, ~45 degrees hip turn.
- Maintain Spine Angle: Stay in your posture; avoid standing up or slumping.
- Natural Weight Shift: Load weight to the inside of your trail foot.
- Stable Head: Keep your head relatively stable, turning around your spine.
- Wall Turn Drill: Practice rotation against a wall to prevent sway.
- Lead Shoulder Over Trail Foot Check: Verify your turn's depth and position.
Frequently Asked Questions (FAQ)
Q: How much hip turn is ideal for an amateur golfer? A: For most amateur golfers, aiming for approximately 45 degrees of hip turn is ideal. This allows for sufficient shoulder turn (around 90 degrees) to create a powerful coil without over-rotating the hips and losing the "X-factor" separation.
Q: Should my head stay perfectly still during the shoulder turn? A: No, your head doesn't need to be perfectly still. It should remain relatively stable, meaning it stays within the general area of your address position. A slight, natural movement is acceptable, but avoid excessive swaying or lifting, which can disrupt your balance and spine angle.
Q: I have limited flexibility. Can I still achieve a good shoulder turn? A: Yes, absolutely. While flexibility helps, you can still make significant improvements. Focus on turning as much as your body comfortably allows while maintaining your posture and spine angle. Don't force a turn that causes pain. Even a slightly shorter but controlled turn is more effective than a forced, unbalanced one. Regular stretching and mobility exercises can also help over time.
Q: What if I feel pain when trying to make a full shoulder turn? A: If you experience any pain, stop immediately. Do not push through pain. It's crucial to consult with a medical professional or a physical therapist. They can help identify any underlying issues and provide safe exercises or modifications. Golf instruction should always prioritize safety and comfort.
Q: Does my trail arm need to stay straight during the shoulder turn? A: No, your trail arm (right arm for a right-handed golfer) will naturally fold or bend during the backswing as your shoulders turn. Trying to keep it perfectly straight can restrict your turn and lead to tension. Allow it to fold naturally, maintaining a connection with your body.
Conclusion
Mastering the shoulder turn is a cornerstone of consistent golf. By diligently working through this shoulder turn checklist for amateur golfers, practicing the Wall Turn Drill, and regularly checking your lead shoulder position, you'll build a more powerful, accurate, and repeatable swing. Remember, golf improvement is a process of consistent, focused effort. Keep it calm, keep it direct, and keep practicing.
