

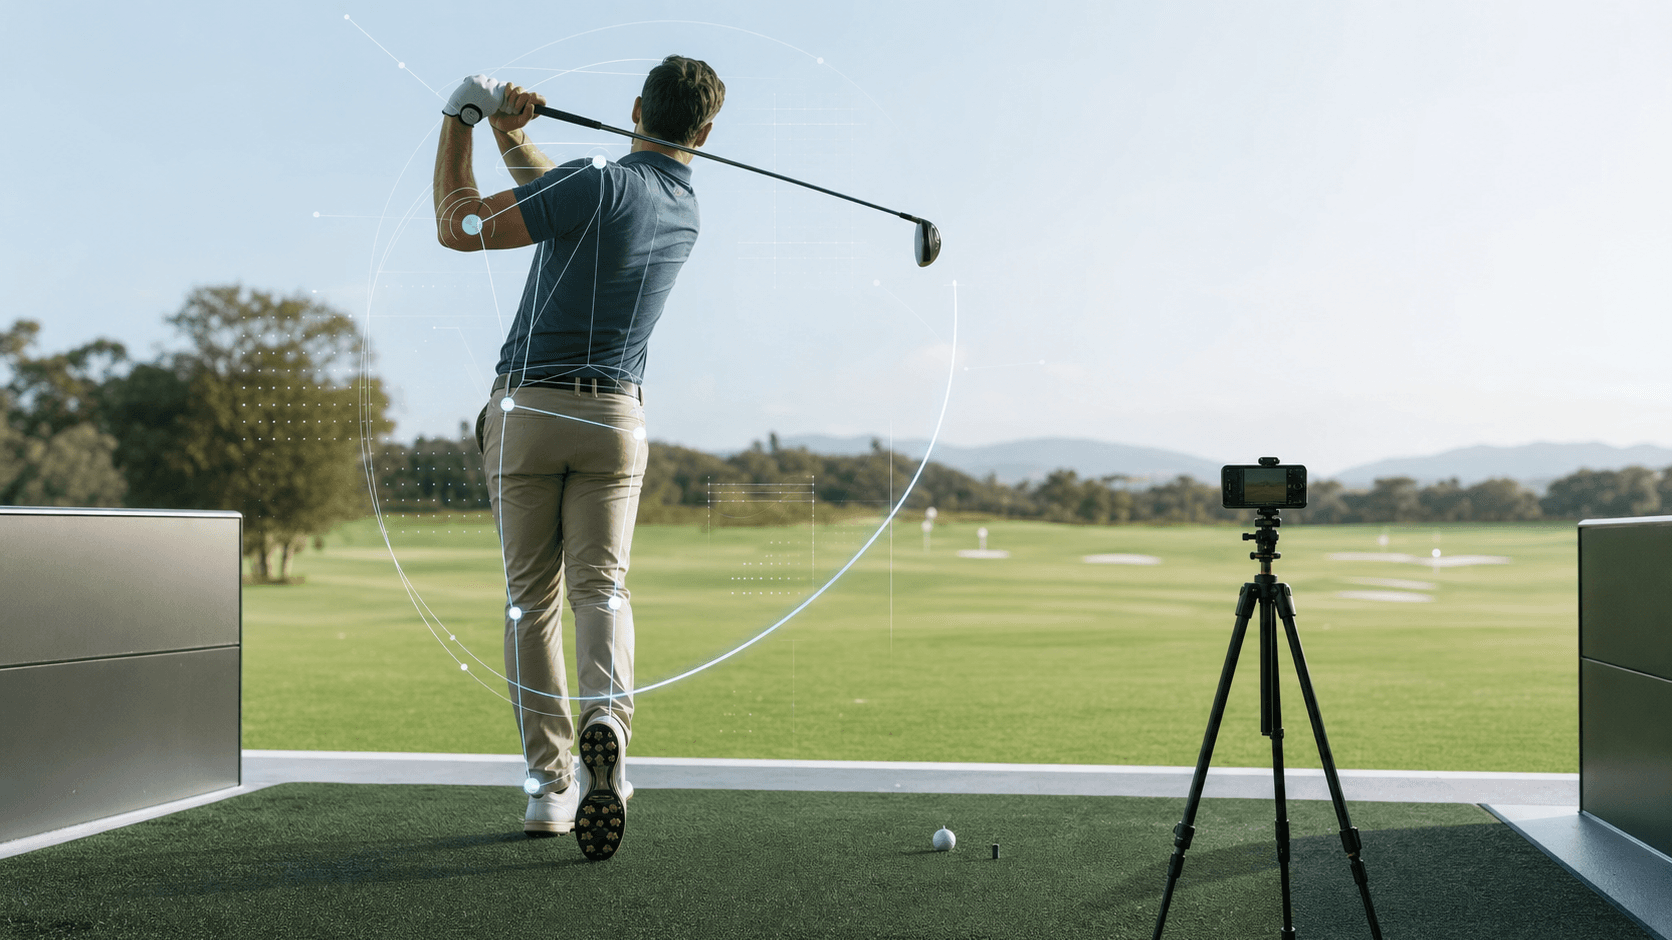
Chubbs is the Straight Line Golf Pro AI review and conversation. A clear clip can support one visible observation and a likely practice hypothesis. The review is video-informed feedback, not precise motion measurement or proof of cause.
This article explains how to film a golf swing so the visible motion is easier for Chubbs AI to review. Clear framing can reduce ambiguity, but it cannot capture every detail, reveal invisible information, or make exact path, face, or impact measurements possible.
Quick Answer
To film your swing effectively for Chubbs AI, position your camera at two primary angles:
- Down-the-Line (DTL): Place the camera directly on your target line, roughly at your hands' height at address. Frame your entire body from head to toe, ensuring the clubhead is visible throughout the swing.
- Face-On (FO): Position the camera directly in front of you, perpendicular to your body, at chest height. Again, capture your full body and the entire swing motion.
Use a stable tripod, ensure good, even lighting, and record with your camera app first. /upload does not record video; it accepts one pre-recorded clip per separate upload. You may separately record the other angle for your own reference or submit it through a later, separate upload.
Why Filming Matters for Chubbs AI
Chubbs AI reviews visible patterns in the golf swing shown by your clip. It does not produce motion-capture measurements or reveal imperceptible angles and sequences. Clear framing and lighting still matter because the report can only discuss what is visible.
The AI's "Eyes": What Chubbs AI Needs to See My AI "eyes" aren't like human eyes. They don't fill in missing information or guess at obscured details. They process what's presented. If a critical part of your swing—like your club plane, hip rotation, or wrist hinge—is out of frame, blurry, or hidden by poor lighting, the AI cannot accurately assess it. This can lead to incomplete feedback or, in some cases, misinterpretations of your swing patterns.
The Importance of Angles: Why Specific Perspectives Are Critical Imagine trying to understand a complex machine by looking at it from only one side. You'd miss crucial gears, levers, and connections. The golf swing is no different. Different camera angles reveal different truths about your movement.
- Down-the-Line (DTL) footage can reveal visible plane, club-position, and body-turn clues. It does not measure the club path at impact.
- Face-On (FO) footage can reveal visible balance, head-movement, posture, wrist, and arm-position clues. It does not measure pressure shift or impact conditions.
If you create separate clips from both angles, each can reveal different visible patterns. They do not create a synchronized three-dimensional measurement of your swing.
Getting Started: Your Essential Gear
You don't need expensive professional equipment to get great footage for Chubbs AI. The key is stability and clarity.
- Camera:
- Smartphone or Tablet: Most modern smartphones and tablets have excellent cameras capable of recording high-definition video, often with slow-motion capabilities. This is usually all you need.
- Action Camera (e.g., GoPro): These are also great options due to their wide-angle lenses and robust design, though ensure they are stable and at the correct height.
- Dedicated Video Camera: If you have one, ensure it's set to record at a high frame rate (60fps or higher is ideal, but 30fps is acceptable) and in HD (1080p).
- Tripod:
- Non-Negotiable: A tripod is absolutely essential. Handheld footage, no matter how steady you think you are, introduces subtle movements and shakes that can distort the AI's analysis. A stable tripod ensures your camera remains perfectly still, providing a consistent reference point for every frame of your swing.
- Adjustable Height: Look for a tripod that allows you to adjust the camera height easily. You'll need different heights for the Down-the-Line and Face-On views.
- Lighting:
- Natural Light is Best: Whenever possible, film outdoors in natural daylight. Overcast days often provide the best, most even lighting without harsh shadows.
- Avoid Direct Sunlight & Backlighting: Direct, harsh sunlight can create deep shadows that obscure parts of your body or club. Avoid filming directly into the sun (backlighting), as this will silhouette you and make analysis impossible.
- Indoor Lighting: If filming indoors, ensure the area is brightly and evenly lit. Avoid single overhead lights that create strong shadows. Multiple light sources can help.
- Background:
- Clear and Uncluttered: A simple, plain background is ideal. Avoid busy backgrounds with trees, fences, or other objects that can blend with your body or club, making it harder for the AI to track your movements. A clear sky, a plain wall, or an open driving range bay works well.
- Contrasting Colors: If possible, wear clothing that contrasts with your background. For example, a light shirt against a dark background, or vice-versa.
The Two Essential Angles for Chubbs AI
These two angles provide the comprehensive view Chubbs AI needs to analyze your swing effectively.
1. Down-the-Line (DTL)
The Down-the-Line view is critical for understanding your swing plane, club path, and the rotation of your body. It reveals how your club travels relative to your target line and how your hips and shoulders turn.
- Camera Placement:
- On the Target Line: Position the camera directly on your target line. Imagine a straight line from your ball to your target; the camera should be precisely on that line, behind you.
- Hands Height: The lens of your camera should be approximately at the height of your hands at address. For most golfers, this is around waist to hip height. This angle allows the AI to clearly see your club shaft and arm angles throughout the swing without distortion.
- Distance: Place the camera far enough away (typically 8-10 feet) so that your entire body, from head to toe, is visible in the frame, along with your club through the full backswing and follow-through.
- What May Be Visible to Chubbs AI:
- Club Position: Visible plane clues during the backswing and downswing.
- Body Turn: The apparent hip and shoulder turn from this angle.
- Wrist and Head Position: Visible orientation or movement, without exact angle measurements.
- Practical Checkpoint: The Alignment Stick Test
- Set Up: Place an alignment stick on the ground directly on your target line, parallel to your feet.
- Position Camera: Set up your tripod and camera directly behind the alignment stick, ensuring the stick appears perfectly straight in your camera's view, not angled.
- Adjust Height: Lower or raise your tripod so the camera lens is roughly level with your hands at address.
- Frame Shot: Take a practice stance. Ensure your entire body, from the top of your head to your feet, and the full arc of your club are visible within the frame. The ball should be visible, but your focus is on your body and club.
- Review: Take a short test video and review it. Does the alignment stick look straight? Can you see your full swing? If so, you're set for the DTL angle.
2. Face-On (FO)
The Face-On view is crucial for analyzing your weight shift, posture stability, and the dynamics of your body through impact. It provides insight into how you generate power and maintain balance.
- Camera Placement:
- Directly in Front: Position the camera directly in front of you, perpendicular to your body at address. It should be aimed straight at your chest.
- Chest Height: The lens of your camera should be roughly at the height of your chest. This angle provides the best view of your body's lateral movements, weight shift, and head position.
- Distance: Again, ensure the camera is far enough away (8-10 feet) to capture your entire body, from head to toe, and the full arc of your club.
- What May Be Visible to Chubbs AI:
- Balance Clues: Apparent movement between the trail and lead side, not measured pressure.
- Head and Posture: Visible movement from this angle.
- Arm and Wrist Position: Visible orientation without an exact impact measurement.
Filming Best Practices for Optimal AI Analysis
Beyond the correct angles, these practices will ensure your videos are of the highest quality for Chubbs AI.
- Frame Your Shot Correctly:
- Always ensure your entire body, from head to toe, is within the frame.
- The club should be visible from the moment you address the ball through the top of your backswing and the full follow-through. Nothing should be cut off.
- Center yourself in the frame as much as possible, leaving a little room around your swing's extremities.
- Stable Camera:
- Use a tripod or stable support. Camera movement can make the visible pattern harder to interpret.
- Lighting is Key:
- As mentioned, aim for even, natural light. Avoid harsh shadows that obscure parts of your body or club.
- Ensure the light source is in front of you or to your side, not behind you.
- Recording Length:
- Start recording a few seconds *before* you begin your swing and continue for a few seconds *after* you complete your follow-through. This provides context for the AI and ensures no part of the swing is missed.
- A typical swing video for analysis should be around 5-10 seconds long.
- Standard Video Is Fine:
- A clear standard-speed MP4 or MOV is sufficient. Keep the clip to 15 seconds or less and under the displayed size limit.
- Do not assume a higher frame rate turns the review into a precise motion measurement.
- One Swing Per Upload:
- Choose one clear, full, committed swing from either DTL or FO, and keep the clip to 15 seconds or less.
- A single clip can be anomalous, so compare the report with contact and ball flight. Use a later upload from the same angle to track a visible change.
- Focus and Exposure:
- Ensure your camera is properly focused on you. Most modern devices have auto-focus, but double-check.
- Check your exposure. You should be clearly visible, not too dark or washed out.
- Sound:
- Sound is not necessary for swing analysis, so don't worry about background noise.
The "Static Pose Check" Drill/Test
This simple drill helps ensure your camera is capturing all the critical moments of your swing.
- Set Up: Position your camera for either the DTL or FO angle, following the guidelines above.
- Record Poses: Instead of swinging, record yourself holding three key positions for a few seconds each:
- Address Position: Your setup before you start the swing.
- Top of Backswing: The peak of your backswing.
- Impact Position: The moment your club would strike the ball (or a simulation of it).
- Review: Immediately play back the recording.
- Can you clearly see your entire body in all three poses?
- Is the club visible and distinct?
- Are there any parts of your body or club cut off?
- Is the lighting even, and is the image sharp?
- Adjust: If anything is unclear or cut off, adjust your camera's position, height, or distance, and repeat the drill until you're satisfied. This ensures that when you do take full swings, the AI will have all the visual information it needs.
Submitting Your Video to Chubbs AI
Once you have a clear recording, choose your single best down-the-line or face-on clip, trim it to 15 seconds or less, and submit it at /upload. A later review can use the other angle, but each upload accepts one clip.
After submission, Chubbs AI will process your footage, providing you with a detailed analysis that highlights key areas for improvement, complete with clear explanations and actionable advice. You can always learn more about what Chubbs AI offers and how it can help your game by visiting /coach.
Quick Checklist for Filming Your Swing
- Camera: Smartphone, tablet, or action cam (HD preferred).
- Tripod: Absolutely essential for stability.
- Angles:
- Down-the-Line (DTL): On target line, hands height, full body/club in frame.
- Face-On (FO): Directly in front, chest height, full body/club in frame.
- Lighting: Natural, even light; avoid harsh shadows or backlighting.
- Background: Clear, uncluttered, contrasting with clothing.
- Framing: Entire body (head to toe) and full club path visible.
- Recording: Start before, end after swing (5-10 seconds per clip).
- Quantity: One clear, committed swing per upload, no longer than 15 seconds.
- Focus/Exposure: Ensure clarity and proper brightness.
- Review: Use the "Static Pose Check" to confirm setup.
Frequently Asked Questions (FAQ)
Q: Can I just use my smartphone to film? A: Yes, absolutely. Most modern smartphones record high-definition video perfectly suitable for Chubbs AI analysis. Just ensure it's stable on a tripod.
Q: How many swings should I upload? A: Upload one clear, committed swing from one angle in a clip no longer than 15 seconds. You can use the other angle in a later review.
Q: What if my background isn't perfectly clear? A: Do your best to find an uncluttered background. If it's not perfect, try to wear clothing that contrasts with it. The goal is to make it as easy as possible for the AI to track your body and club.
Q: Do I need special software to edit my videos before uploading? A: No. Choose one MP4 or MOV clip from your camera or phone, trim it to 15 seconds or less if needed, and upload that single file.
Q: Can I film indoors, or do I have to be outside? A: You can film indoors, provided you have sufficient, even lighting. Avoid single overhead lights that create strong shadows. Multiple light sources are often better. Ensure you have enough space to complete your full swing safely.
Q: Should I film in slow motion? A: Standard-speed video is fine. Clarity, stable framing, the full swing in view, a duration of 15 seconds or less, and the accepted file size matter more than a high frame rate.
Clear filming gives Chubbs a better chance to describe the visible pattern without guessing around blur or missing body parts. Treat the report as one practice hypothesis alongside contact and ball flight.
