

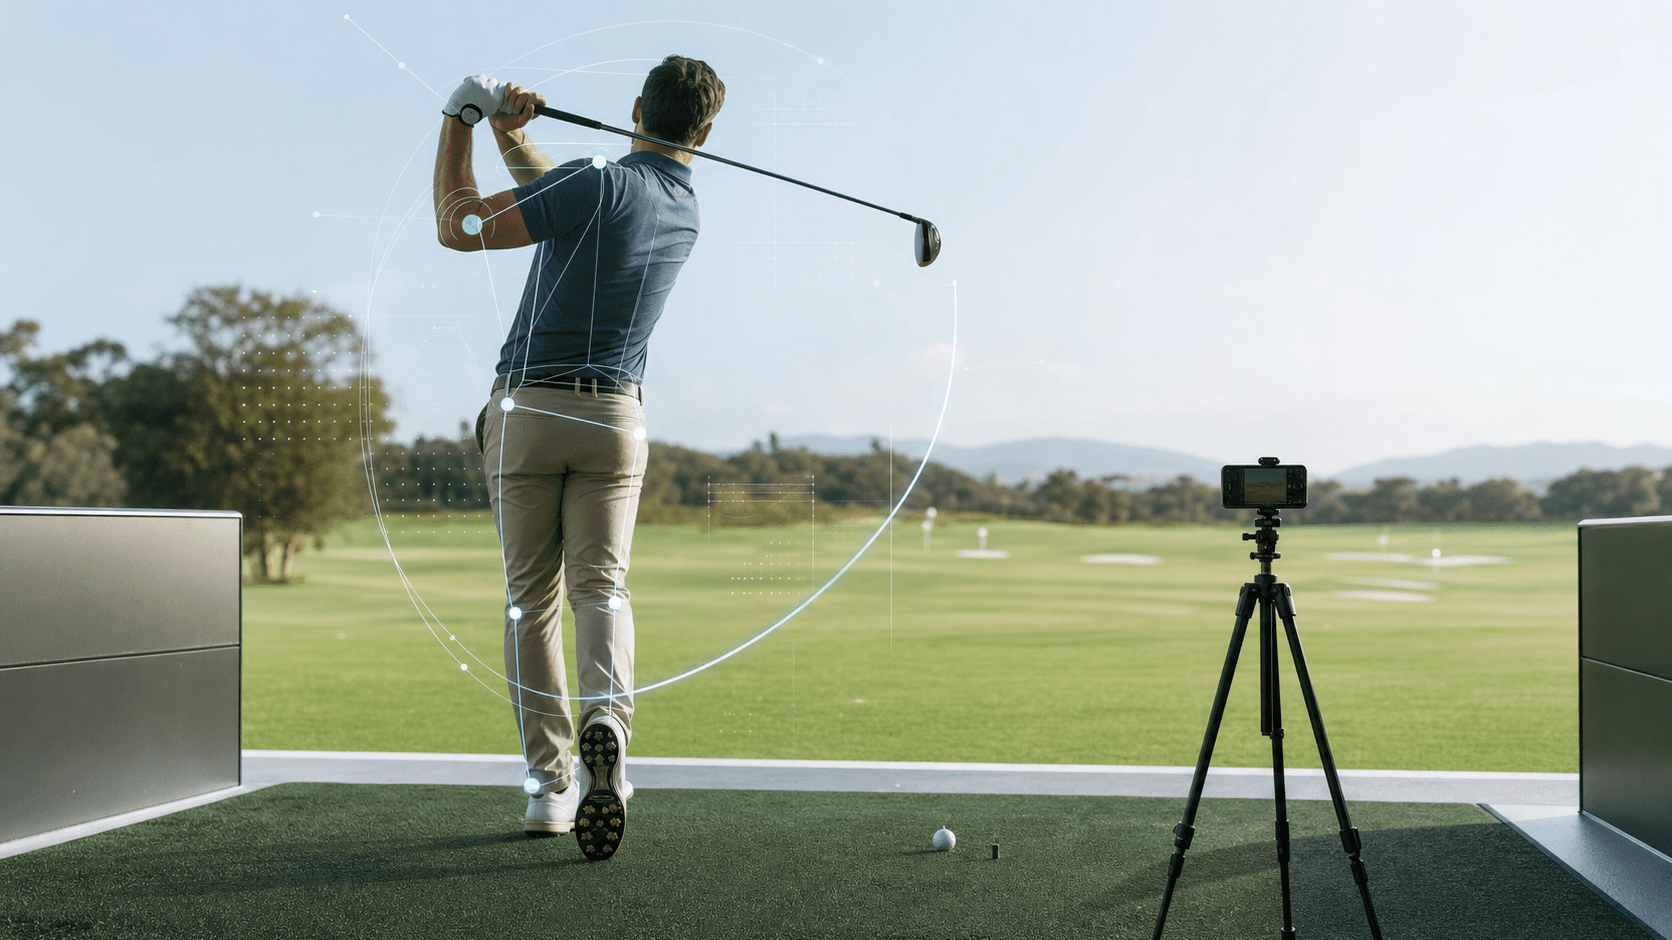
For the dedicated weekend golfer, understanding your golf swing is a continuous journey. While the feel of a good strike is invaluable, what your swing *looks* like can offer crucial insights. Video analysis has become an accessible and powerful tool, but simply recording your swing isn't enough. The real benefit comes from knowing how to compare two swing videos effectively. This guide from Chubbs at Straight Line Golf Pro (SLGP) will walk you through the precise steps to make these comparisons useful, calm, and actionable, helping you identify patterns and make targeted improvements to your game.
Comparing your swing videos isn't about finding every tiny flaw. It's about observing clear differences, understanding their potential impact, and then focusing on one or two key areas for improvement. This structured approach helps prevent overwhelm and guides your practice efficiently.
Quick Answer
To compare two swing videos effectively, first ensure both videos are filmed from the same angle (e.g., down-the-line or face-on) and distance. Use a video analysis app to align the frames, typically by matching your address position. Then, systematically compare key positions—address, top of backswing, impact, and follow-through—using slow-motion playback and drawing tools to highlight differences in body angles, club path, and weight shift. Focus on identifying one or two significant, repeatable differences that align with your swing goals or observed shot outcomes.
Why Compare Your Swing Videos?
Comparing your swing videos is a proactive step toward better golf. Here’s why it’s a valuable practice:
- Track Progress: After a lesson, a focused practice session, or a period of working on a specific swing thought, comparing a "before" video to an "after" video allows you to visually confirm if the changes you're trying to make are actually happening. This visual feedback can be incredibly motivating and reinforce good habits.
- Identify Inconsistencies: Have you ever hit a few perfect shots followed by a string of poor ones? Comparing a video of a good swing to a video of a poor swing can reveal subtle (or not-so-subtle) differences in your mechanics. This helps you understand what you might be doing differently when things go awry.
- Target Specific Improvements: If you're working on a particular aspect of your swing, like reducing a slice or improving your impact position, comparing videos allows you to isolate that specific element. You can then see if your efforts are moving you closer to your desired outcome, guiding your practice more effectively.
- Connect Feel to Real: Often, what we *feel* we're doing in the swing isn't exactly what's happening. Video comparison helps bridge this gap, showing you the reality of your motion and allowing you to adjust your internal sensations to match the desired external movement.
Choosing the Right Videos for Comparison
The quality of your comparison starts with the quality and relevance of the videos you select.
- "Before" vs. "After": This is perhaps the most common and effective comparison. Film your swing before you start working on a specific change, and then again after a dedicated period of practice or a lesson. This clearly illustrates progress or highlights areas still needing attention.
- "Good" vs. "Bad": When you hit a shot perfectly, record it. When you hit a poor shot (a slice, a hook, a fat shot, a thin shot), record that too. Comparing these two can reveal the mechanical differences that lead to different outcomes.
- "Yours" vs. "Pro": While tempting, comparing your swing directly to a professional's swing should be done with caution. Pros have different body types, flexibility, and years of dedicated practice. Instead of trying to mimic them exactly, use pro swings as a reference for fundamental principles like sequence, balance, and club position at key points, not as a direct blueprint for your own swing.
- Consistency in Filming: This is paramount.
- Angle: Always film from the same primary angles. The two most common are:
- Down-the-Line (DTL): Camera directly behind your hands, aimed down your target line, at hip height. This shows club path, plane, and body rotation.
- Face-On (FO): Camera directly in front of you, perpendicular to your target line, at chest height. This shows weight shift, head movement, and body angles.
- Distance: Keep the camera at roughly the same distance from you in both videos to maintain consistent perspective.
- Lighting: Consistent lighting helps ensure clarity and avoids shadows that can obscure important details.
- Tripod: Using a small tripod or stand for your phone ensures stability and consistent framing, freeing you to focus on your swing.
The Tools You'll Need
You don't need expensive, high-tech equipment to start comparing your swing videos.
- Smartphone or Tablet: Most modern devices record high-quality video suitable for analysis. Ensure you have enough storage space.
- Video Analysis App: This is the most crucial tool. Many free and paid apps offer features like:
- Slow-motion playback: Essential for seeing rapid movements.
- Frame-by-frame advance: Allows precise examination of specific moments.
- Side-by-side comparison: Displays two videos simultaneously for direct comparison.
- Drawing tools: Lines, circles, angles, and grids to highlight body positions, club plane, and head movement.
- Mirroring/Flipping: Useful if you accidentally film from the wrong side.
- Tripod (Optional but Recommended): A small, portable tripod for your phone will ensure stable, consistent filming angles, which is critical for accurate comparison.
The Comparison Process: A Step-by-Step Guide
Once you have your two videos, follow these steps for a structured and effective comparison.
Step 1: Frame Alignment
This is the foundational step. If your videos aren't aligned, your comparisons will be inaccurate.
- Match the Setup: Open both videos in your analysis app, side-by-side. Advance both frames until you are at your exact address position, just before you start your takeaway. Ensure your feet, hips, and shoulders are aligned similarly in both videos. This might mean slightly adjusting one video forward or backward by a frame or two.
- Establish Baselines: Once aligned, use the drawing tools to establish initial reference lines. For example, draw a vertical line from the middle of your stance up through your head, or a line along your club shaft at address. These lines will help you observe movement relative to your starting point.
Practical Checkpoint: The Setup Stance Alignment Check
Before you even start the swing comparison, pause both videos at your address position. Draw a vertical line from the outside of your lead heel straight up. Then, draw another vertical line from the outside of your trail heel. Observe the width of your stance and the position of your hands relative to your body in both videos. Are your feet the same distance apart? Is your ball position consistent? Is your posture (spine angle, knee flex) similar? Any significant differences here will affect the rest of the swing, so it's important to note them first. If your setup is inconsistent, that's often the first area to address.
Step 2: Key Positions Comparison
Now, systematically move through the swing, pausing at critical points to observe differences.
- Address: (Already covered in Step 1, but re-evaluate after initial alignment.)
- Takeaway (Club Parallel to Ground): Observe the club's position relative to your body and the target line. Is it inside, outside, or on plane? How much wrist hinge has occurred?
- Top of Backswing: This is a crucial checkpoint.
- Club Position: Is the club laid off (pointing left of target), on plane, or across the line (pointing right of target)?
- Body Rotation: How much shoulder and hip turn have you achieved?
- Wrist Hinge: Is there full wrist hinge, or is the club "cupped" or "bowed"?
- Head Movement: Has your head lifted, dipped, or swayed significantly?
- Transition (Start of Downswing): Look for the initial move. Are your hips initiating the downswing, or are your shoulders starting too early? Is there a "squat" or "drop" move?
- Impact: This is the moment of truth.
- Clubface: Is it square, open, or closed? (Harder to see from DTL, better from FO).
- Body Position: Where is your weight? Is your lead hip clearing? Is your chest still facing the ball, or has it rotated open?
- Shaft Lean: Is the club shaft leaning forward (toward the target) at impact? This is generally desirable for solid contact.
- Follow-Through/Finish:
- Balance: Are you balanced on your lead foot?
- Body Rotation: Has your body fully rotated towards the target?
- Club Position: Where does the club finish?
Step 3: Using Drawing Tools
Your analysis app's drawing tools are invaluable for making objective comparisons.
- Lines for Plane: Draw a line from the heel of your club at address up through your elbow. This represents your ideal swing plane. Observe how the club shaft tracks relative to this line during the backswing and downswing in both videos.
- Vertical Lines for Sway/Lift: Draw a vertical line from the outside of your head at address. Observe if your head moves outside this line (sway) or above/below it (lift/dip) during the swing.
- Angle Tools for Posture: Use angle tools to measure your spine angle at address and observe how it changes throughout the swing.
- Circles for Stability: Draw a circle around your head at address to easily spot any excessive head movement.
Step 4: Slow Motion and Frame-by-Frame
The golf swing happens too fast for the naked eye.
- Slow-Motion Playback: Play both videos in slow motion, side-by-side. This allows you to observe the *sequence* of movements and how different body parts interact.
- Frame-by-Frame Advance: For critical points like impact or the top of the backswing, use frame-by-frame advance to pinpoint exact positions and make precise comparisons.
Step 5: Identifying Differences
After all this observation, the goal is to identify *meaningful* differences.
- Note Down Observations: Keep a simple notebook or use the app's annotation features to jot down what you see. For example: "Video A (Good Swing): Club on plane at top. Video B (Bad Swing): Club across the line at top."
- Prioritize: You'll likely find several differences. Don't try to fix them all at once. Focus on one or two key differences that you believe are most impactful or are directly related to the issue you're trying to resolve (e.g., if you're slicing, look for differences in club path or face angle at impact).
Common Pitfalls to Avoid
Even with the right tools and process, it's easy to fall into common traps.
- Comparing Apples to Oranges: Inconsistent filming angles, distances, or lighting will render your comparison useless. Always strive for consistency.
- Over-Analyzing Minor Details: Don't get bogged down in every tiny micro-movement. Focus on significant, repeatable differences that likely impact your ball flight. A slight difference in wrist angle might be less important than a major change in your club path.
- Getting Overwhelmed: It's easy to feel like your swing is "broken" when you see all its imperfections. Remember, no swing is perfect. Pick one thing to work on, improve it, and then move to the next.
- Focusing Solely on "Pro" Comparisons: As mentioned, use pros as a general reference for fundamentals, not as a direct template. Your swing is unique to you.
- Ignoring Feel: While video shows you reality, your internal *feel* is how you execute the swing. Always try to connect what you see on video with what you feel when you swing.
Making Sense of Your Observations
Once you've identified key differences, what next?
- Prioritize One Key Area: If you notice your club is across the line at the top of your backswing in your "bad" swing, and your hips are stalling, pick one. For instance, focus on getting the club more on plane first. Trying to fix multiple things simultaneously often leads to no improvement at all.
- Connect Observations to Feel: If your video shows your club is too far inside on the takeaway, try to feel what it's like to keep it wider and more in front of you. Practice slow swings, paying attention to this new feeling, and then re-film to see if the visual matches your new sensation.
- Keep Human and AI Feedback Distinct: An independent qualified golf professional can interpret the full shot in person. Chubbs AI can review one clear clip and you can add context in an AI conversation, but neither feature is a staffed expert-coaching service or a root-cause diagnosis.
Named Drill/Test: The Mirror-Image Drill
This drill directly applies your video comparison observations.
- Identify a Key Position: From your video comparison, pick one specific position where your "good" swing differs significantly from your "bad" swing (e.g., the top of your backswing, or your impact position).
- Analyze the Difference: Understand *how* it's different. For example, in your "bad" swing, your left wrist might be cupped at the top, leading to an open clubface. In your "good" swing, it's flat.
- Practice in Front of a Mirror: Stand in front of a full-length mirror without a club (or with a light training aid). Slowly take your swing to the identified key position.
- Replicate the "Good" Position: Consciously adjust your body and hand positions to match what you saw in your "good" swing video. For the cupped wrist example, flatten your left wrist until it looks correct in the mirror.
- Hold and Feel: Hold that correct position for 5-10 seconds, focusing on the muscle sensations. How does it feel different from your "bad" position?
- Repeat: Do this 10-15 times, making sure you're consistently hitting the correct position. The goal is to develop the muscle memory and the *feel* of the correct movement.
- Integrate with a Club: Once you're comfortable with the mirror work, take a club and practice slowly, trying to replicate that feel and position. Then, film yourself again to see if the visual change has occurred.
Quick Checklist for Comparing Swing Videos
Before you start your next comparison, run through this checklist:
- [ ] Both videos filmed from the same angle (DTL or FO).
- [ ] Both videos filmed from the same distance.
- [ ] Consistent lighting in both videos.
- [ ] Using a video analysis app with slow-motion and drawing tools.
- [ ] Aligned both videos at the address position.
- [ ] Systematically compared key positions (address, takeaway, top, impact, follow-through).
- [ ] Used drawing tools to highlight differences.
- [ ] Identified one or two significant differences to focus on.
- [ ] Considered how observed differences relate to ball flight or swing goals.
- [ ] Ready to connect visual observations with physical feel.
Frequently Asked Questions (FAQ)
Q: How often should I compare videos? A: It depends on your practice routine. After a lesson, or after a few focused practice sessions (e.g., once a week or every other week), is a good rhythm. Don't compare every single practice session, as changes take time to embed.
Q: What's the most important point to compare in the swing? A: While all points are important, impact is arguably the most critical for ball flight. However, issues at impact often stem from problems earlier in the swing (e.g., top of backswing or transition). For identifying root causes, the top of the backswing and the transition are often very revealing.
Q: Can I use any video analysis app? A: Yes, many apps work well. Look for features like side-by-side comparison, slow-motion, frame-by-frame advance, and drawing tools. Some popular options are V1 Golf, Hudl Technique, or even built-in slow-motion features on modern smartphones combined with basic editing apps.
Q: Should I compare myself to a professional golfer? A: Use professional swings as a general reference for fundamental principles (e.g., sequence, balance, club position at key points) rather than trying to mimic them exactly. Focus primarily on comparing your "good" swings to your "bad" swings, or your "before" to your "after" swings, as this provides more actionable, personal insight.
Comparing golf swing videos can be a useful self-review tool. Keep the camera angle consistent and focus on one visible pattern. For Chubbs AI feedback, upload one clear clip no longer than 15 seconds; use a later upload for the comparison clip. The report is not a human expert review or exact motion measurement.
