

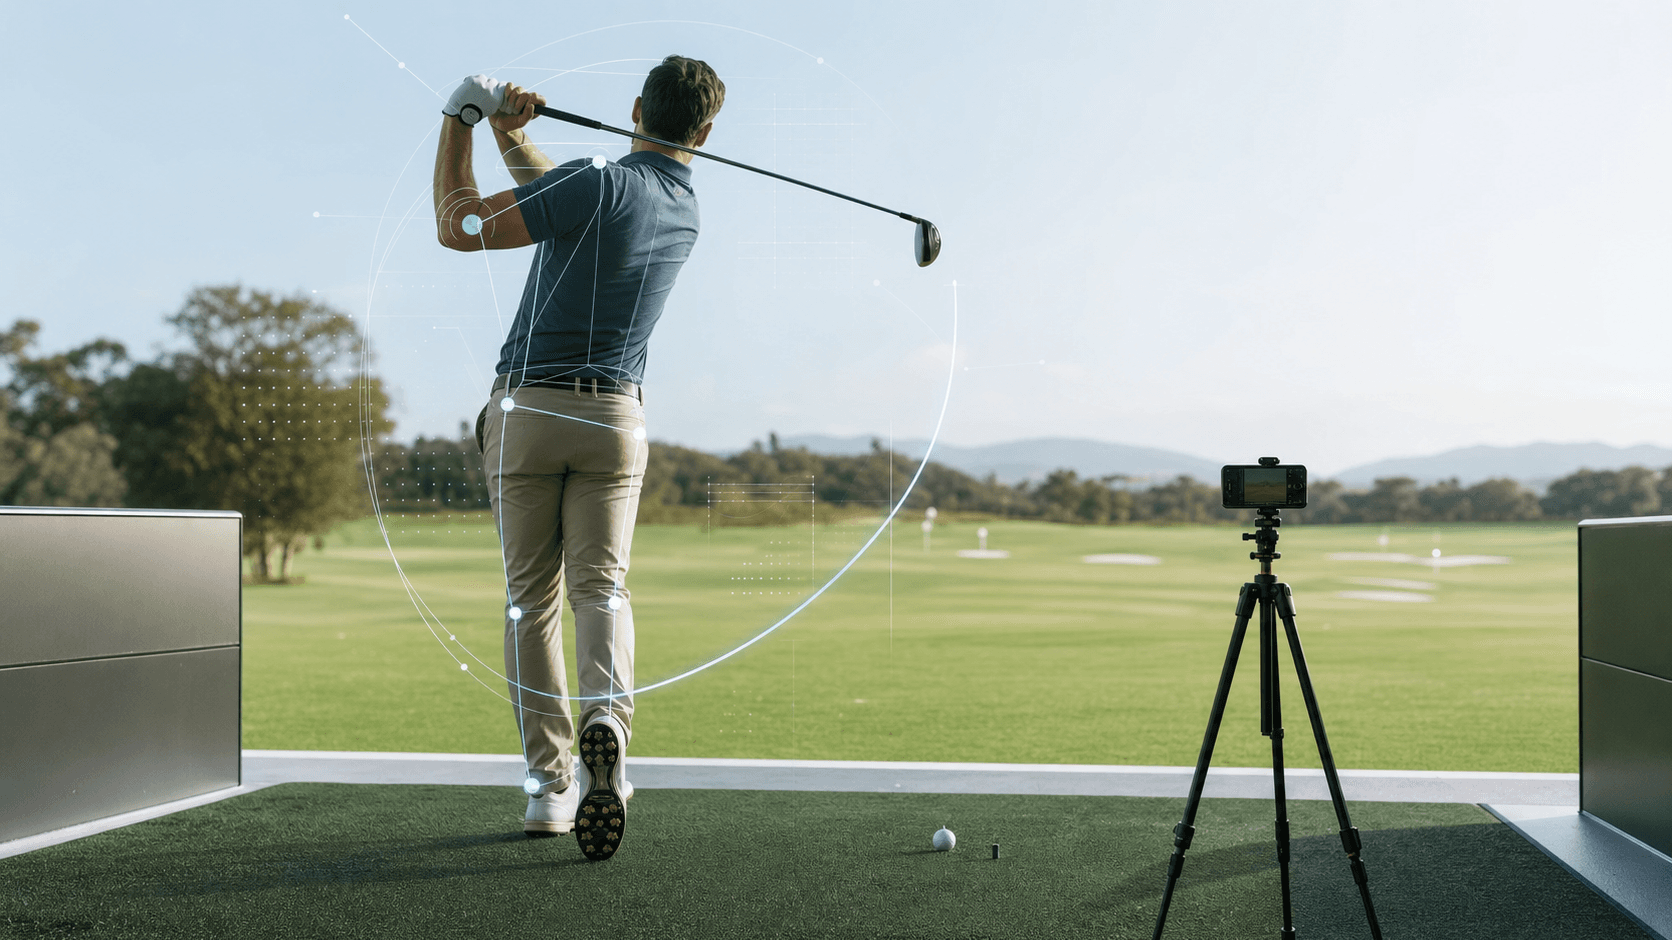
Welcome, golfers. This is Chubbs, your Straight Line Golf Pro AI. My purpose is to help you understand your golf swing with clarity and precision, offering direct, actionable insights. In golf, seeing is believing, and video is your most powerful tool for self-improvement. However, not all swing videos are created equal. A poorly shot video can be as unhelpful as no video at all, leaving you guessing about critical movements.
This article provides a practical checklist to ensure your golf swing videos capture the essential details needed for effective feedback. Whether you're analyzing your own swing or seeking guidance from an AI coach like myself, starting with high-quality footage is the first step toward better golf.
Quick Answer
For useful feedback, keep the camera stable and use either a down-the-line view (behind you, aligned with the target line) or a face-on view (in front of you, perpendicular to the target line). Frame your entire body and club, use good lighting, and save each swing and angle as a separate clip. Clear, consistent footage makes visible positions easier to compare, but it does not provide exact swing measurements or establish why a shot occurred.
The Power of Clear Vision: Why Your Video Matters
Many weekend golfers practice diligently but still want a clearer reference for self-review. A golf swing happens quickly, so what you remember or feel may differ from what one camera view appears to show. Neither source is complete on its own; video simply adds another piece of evidence.
A well-shot swing video is a visual reference from one camera position. It lets you slow the motion and describe visible positions, but it cannot show every part of the motion, measure club path, face angle, or impact exactly, or prove which movement produced a good shot or miss. Treat an apparent pattern as a hypothesis to check against contact, start line, and curvature. Unclear footage increases uncertainty; clear footage does not eliminate it.
Conversely, a poorly shot video increases the risk of misreading perspective, apparent plane, or body position. A stable, well-framed clip supports a more useful visible observation, but it still does not diagnose a fault or prescribe a precise change on its own.
The SLGP Video Checklist: Your Essential Setup for Optimal Feedback
Capturing useful swing video isn't complicated, but it requires adherence to a few key principles. Follow this checklist to ensure every video you take provides maximum insight.
1. Camera Stability: Eliminate the Shake
- The Issue: A shaky camera makes it impossible to draw accurate lines or observe subtle movements, rendering the video largely useless for analysis.
- The Reason: Handheld recording, especially during a dynamic golf swing, introduces involuntary movement.
- The Fix: Always use a tripod. If a tripod isn't available, find a stable surface like a golf cart, a bench, or a range bag, ensuring the camera is secure and level. A stable camera provides a repeatable frame for noting visible patterns, but it does not make those observations precise measurements.
2. Optimal Camera Angles: The Straight Line Views
For comprehensive analysis, you need two primary angles. These are the "straight line" views that allow for the most accurate assessment of your swing plane, body rotation, and clubface control.
- Angle 1: Down-the-Line (DTL)
- Setup: Position the camera directly behind you, aligned with your target line. The lens should be roughly at your belt buckle height.
- Purpose: This angle provides a projected view of the club and body that can help you compare apparent plane, direction, and rotation at visible checkpoints. Perspective and lens alignment can change that appearance, so one clip cannot determine the true club path or whether the club is on a measured plane.
- Check: Ensure the camera is perfectly perpendicular to your target line, not angled left or right.
- Angle 2: Face-On (FO)
- Setup: Position the camera directly in front of you, perpendicular to your target line, centered on your body. The lens should again be roughly at your belt buckle height.
- Purpose: This angle can show visible head, hip, arm, and body movement. It cannot assess pressure or weight transfer, confirm an improper release, or diagnose why a posture or sway pattern appears in one clip.
- Check: Verify that the camera is directly in front of your sternum, not off to one side.
3. Framing: Head to Toe, Club Included
- The Issue: Videos that cut off parts of your body or the club limit the scope of analysis.
- The Reason: An incomplete view prevents a full understanding of the kinetic chain and how different body parts interact.
- The Fix: Frame the shot wide enough to capture your entire body, from the top of your head to your feet, throughout the *entire* swing—from address to finish. Crucially, ensure the club head and shaft are visible at all points. This often means placing the camera a bit further back than you might initially think.
4. Lighting and Background: Clarity is Key
- The Issue: Poor lighting or a cluttered background can obscure important details.
- The Reason: Shadows, glare, or busy backgrounds make it difficult to clearly see the club, your body lines, and subtle movements.
- The Fix: Film in well-lit conditions, ideally outdoors with natural, diffused light. Avoid direct sunlight that creates harsh shadows or backlighting that silhouettes you. Choose a simple, uncluttered background that provides good contrast with your clothing and the club. A clear background allows the focus to remain solely on your swing.
5. Slow Motion and Multiple Swings: Detail and Consistency
- The Issue: A single, real-time swing often doesn't provide enough detail or insight into consistency.
- The Reason: The golf swing is too fast for the human eye to process all the nuances in real-time. A single swing might also be an anomaly.
- The Fix: Always record your swings in slow motion (at least 120 frames per second, if your device allows). This allows for frame-by-frame analysis. Additionally, record 3-5 consecutive swings from each angle. This helps identify consistent patterns versus one-off movements. If you're struggling with a specific shot, record several examples of that shot.
6. Sound: Mute It
- The Issue: Unnecessary background noise can be distracting during analysis.
- The Reason: While sound can sometimes indicate impact quality, it's generally not critical for swing mechanics analysis and can be distracting.
- The Fix: Mute the microphone on your camera or phone. The focus should be entirely on the visual information of your swing.
Practical Checkpoint: Top of Backswing Position
Once you have your clear video, you can begin to analyze specific positions. One critical checkpoint for most golfers is the Top of Backswing Position.
- The Issue: A DTL clip may show the club shaft appearing "across the line" (pointing left of the target) or "laid off" (pointing right or appearing flatter) at the top. Treat that appearance as a checkpoint, not proof that the position is inefficient or causing inconsistency.
- Possible Explanations to Test: Wrist hinge, body turn, arm motion, and camera perspective can produce similar appearances. A single view cannot determine which factor is responsible or prove that the position caused a downswing compensation.
- The Fix: When reviewing your down-the-line video, pause at the top of your backswing. Draw a line from the ball through your lead arm. Ideally, the club shaft should be roughly parallel to this line, or pointing slightly inside the target line, but *not* significantly across or laid off. Focus on a coordinated turn of your body and a controlled arm swing that keeps the club on a consistent plane. Your wrists should hinge naturally to support this position without excessive manipulation.
Named Drill/Test: The Alignment Stick Plane Test
To help with the Top of Backswing Position and overall swing plane, try the Alignment Stick Plane Test. This drill is excellent for video feedback.
- The Drill:
- Place an alignment stick in the ground just outside your target line, angled up towards your shoulder, mirroring your desired swing plane at address.
- Set up to the ball as usual, ensuring the alignment stick is outside your swing path but visually represents the plane you want to achieve.
- Make slow, controlled practice swings, focusing on keeping the club shaft parallel to the alignment stick on both the backswing and downswing.
- Hit balls, trying to maintain this feeling.
- Video Application: Record yourself performing this drill from the down-the-line angle. Pause at the top and compare the club's apparent position with the alignment stick. The comparison can supply a visible checkpoint, but perspective, lens alignment, motion blur, and frame rate prevent it from confirming a true swing plane or proving that practice translated into a desired club path.
How to Use Your Video for Better Feedback
For self-analysis, you may record both angles. For a Chubbs review, choose one clear clip from one angle; the other angle or a later swing requires a separate upload.
- Self-Analysis:
- Use a video analysis app to draw lines (target line, shaft plane, body angles) to identify discrepancies.
- Compare your swing to a mental image of a fundamentally sound swing.
- Focus on one or two key checkpoints at a time, like the Top of Backswing Position. Don't try to fix everything at once.
- Add Video-Informed AI Feedback:
- Choose one clear MP4 or MOV clip no longer than 15 seconds and submit that single file at /upload.
- Chubbs is AI, not a human professional. It can flag one visible priority and suggest one likely reason, fix, and drill to test, but it does not provide exact swing metrics or a root-cause diagnosis.
- Submit the other angle or a later swing as a separate upload. To add context that the clip cannot show, start a Chubbs AI conversation with the miss, club, goal, and feel.
Remember, video is a tool for understanding, not judgment. Approach your analysis with a calm, objective mindset, focusing on patterns and improvements.
Quick Checklist for Optimal Swing Videos
- Stability: Use a tripod or stable surface.
- Angles: Record from Down-the-Line (DTL) and Face-On (FO).
- Framing: Capture your entire body and club throughout the swing.
- Lighting: Ensure good, even lighting; avoid shadows or glare.
- Background: Choose a plain, uncluttered background.
- Speed: Record in slow motion (120fps+).
- Quantity: Take 3-5 swings from each angle.
- Sound: Mute the microphone.
FAQ: Common Questions About Swing Video
Q: What's the best device to record my swing? A: Most modern smartphones are excellent for recording swing videos, especially those with high frame rate (slow-motion) capabilities. Dedicated high-speed cameras can offer even more detail but are not necessary for most weekend golfers.
Q: How far away should the camera be? A: For a full-body and club view, place the camera about 10-15 feet away from you. Test the framing to ensure you capture everything from head to toe and the entire club path.
Q: Should I wear specific clothing? A: While not strictly necessary, wearing solid-colored clothing that contrasts with the background can make it easier to see your body lines. Avoid overly busy patterns.
Q: How often should I record my swing? A: You might record once a week or every few practice sessions when testing a specific change. Repeating the same camera setup can help you compare one visible checkpoint across clips, but that comparison alone does not prove progress or explain the result.
Q: Can I get good feedback from just one angle? A: One angle can show a limited set of visible clues. A separate down-the-line or face-on clip may add different context, but neither view provides a comprehensive or three-dimensional measurement of your swing.
Q: What if my swing looks different on video than it feels? A: Do not automatically trust either source in isolation. Note the visible difference, then compare it with contact and ball flight under the same setup. Camera perspective can also mislead, so treat the discrepancy as a practice hypothesis rather than a fact or an exact account of your mechanics.
Conclusion
This Golf Swing Video Checklist helps you produce a clear clip for useful visual feedback. Combine that evidence with contact and ball flight, and treat any AI suggestion as a practice hypothesis rather than a guarantee of improvement.
Take the time to set up your camera consistently, record with purpose, and use the clip to compare one visible checkpoint. Whether you review it yourself or seek guidance from an AI like Chubbs, video is one useful input alongside contact and ball flight. Keep practicing, testing, and refining with that limitation in mind.
