

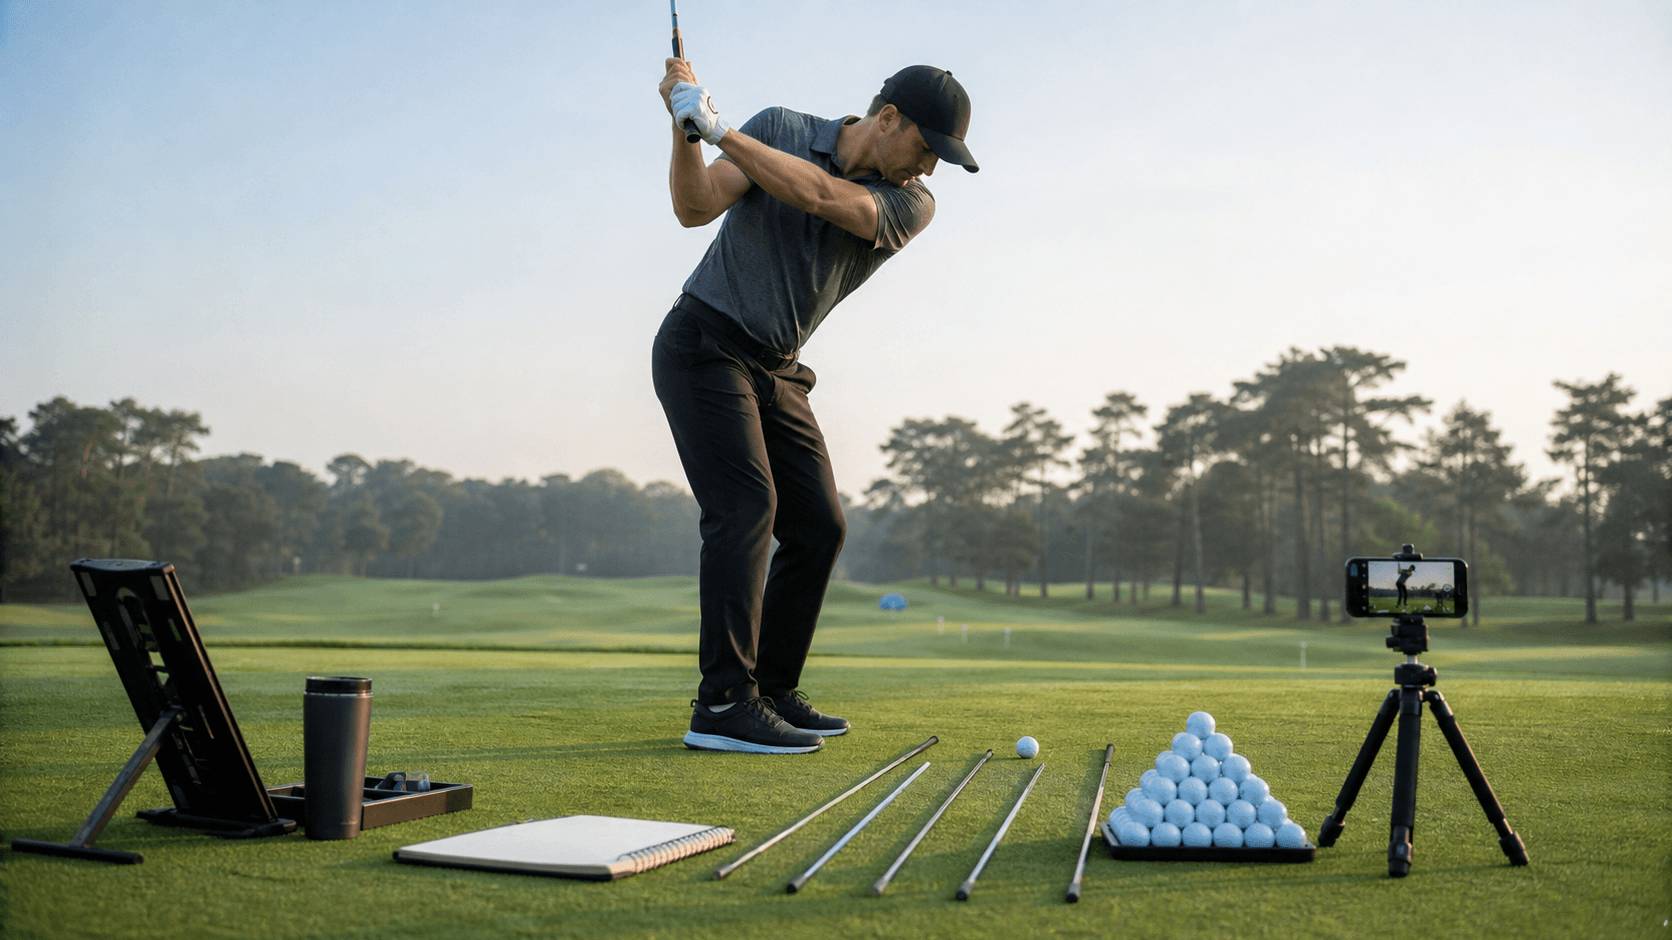
Welcome to the Straight Line Golf Pro. I’m Chubbs, and today we're going to talk about one of the most fundamental, yet often overlooked, aspects of a consistent golf swing: alignment. It doesn't matter how technically perfect your swing feels if you're aimed at the wrong target. That's where alignment sticks come in. These simple, inexpensive tools are invaluable for building a reliable setup and swing path, ensuring your efforts translate into shots that go where you intend.
At SLGP, we advocate for clear, actionable practice. Alignment sticks provide immediate, visual feedback that no other tool can match. They are your silent, ever-present caddy, constantly reminding you of your target line, ball position, and swing path. Integrating them into every practice session isn't just a recommendation; it's a foundational principle for improvement.
Quick Answer
Alignment sticks are essential tools for every golf practice session, providing immediate visual feedback to correct setup, ball position, target alignment, and swing path. By placing them on the ground to define your target line, foot line, or swing plane, golfers can eliminate common errors that lead to inconsistent shots. Consistent use of these drills builds muscle memory for proper alignment, leading to more accurate and predictable ball striking.
The Foundation: Why Alignment Matters More Than You Think
Imagine you're building a house. If the foundation isn't square, every wall, every window, every roofline will be off. Golf is no different. Your alignment is the foundation of your swing. If you're aimed incorrectly from the start, your body will instinctively make compensations during the swing to try and bring the ball back to the target. These compensations are often the root cause of slices, hooks, pushes, and pulls, making consistency an elusive dream.
Many golfers *think* they're aimed correctly, only to find out through feedback from alignment sticks that their setup is consistently off. Perspective from the address position can make square alignment difficult to judge. Alignment sticks reduce that guesswork by providing a clear visual reference.
The Straight Line Golf Pro approach emphasizes understanding the *one issue*, identifying the *one reason*, applying the *one fix*, and practicing with the *one drill*. For alignment, the issue is often inconsistent ball flight. The reason is frequently poor setup alignment. The fix is objective visual feedback, and the drills we're about to cover are your path to consistency.
Getting Started: Your Alignment Sticks
You typically need two alignment sticks, though a third can be useful for certain drills. They are usually 48 inches long and made of fiberglass or carbon fiber. Look for bright colors that are easy to see on the grass. They're durable, portable, and a minimal investment for maximum return.
Basic Setup: Before any drill, understand the fundamental placement:
- Target Line Stick: Place one stick on the ground pointing directly at your target. This is the line the ball should travel on.
- Foot Line Stick: Place the second stick parallel to the target line stick, positioned so your feet are aligned along it. This ensures your body is set up square to your target. Your ball will be positioned just inside the target line stick.
Remember, your feet, hips, and shoulders should ideally be parallel to the target line, not pointed *at* the target. This is a common misconception. Your clubface points at the target, your body aligns parallel to the target line.
Core Alignment Stick Drills for Every Practice Session
Let's break down practical, effective drills you can integrate immediately.
1. The "Parallel Tracks" Setup Drill
This is your foundational drill. Master this, and you've solved a significant portion of alignment issues.
- Issue: Inconsistent starting direction of the ball.
- Reason: Body alignment (feet, hips, shoulders) is not parallel to the target line.
- Fix: Visual feedback to ensure square setup.
- The Drill:
- Set Your Target: Pick a specific, small target in the distance (e.g., a specific tree branch, a divot, a flagstick).
- Place Target Line Stick: Lay one alignment stick on the ground, pointing directly at your target. The ball will sit just inside this stick, towards your body.
- Place Foot Line Stick: Lay the second alignment stick parallel to the first, about a foot or two closer to you. This stick will guide your foot placement.
- Align Your Body: Step into your setup, ensuring your toes (or the outside of your feet, depending on preference) are aligned with the foot line stick. Crucially, check that your hips and shoulders are also square to this line.
- Hit Shots: Take a few practice swings, then hit shots, paying attention to the initial ball flight relative to your target line stick.
- Self-Correction: After each shot, step away and re-align. Don't rush. The goal is to build muscle memory for a consistently square setup.
This drill should be the first thing you do at the range, every time. It recalibrates your internal aiming system.
2. The "Ball Position Check" Drill
Correct ball position is crucial for solid contact and optimal launch conditions, especially with different clubs.
- Issue: Inconsistent contact (fat/thin), varying launch angles.
- Reason: Ball position shifts without awareness.
- Fix: A clear visual reference for consistent ball placement.
- The Drill:
- Setup Parallel Tracks: Begin with the "Parallel Tracks" drill (target line and foot line sticks).
- Place Ball Position Stick: Take a third alignment stick (or use one of your existing two if you only have two) and place it perpendicular to your target line stick, directly where you want the ball to be for a specific club.
- Driver: Ball position typically off the heel of your lead foot.
- Irons: Ball position progressively moves towards the center of your stance as clubs get shorter.
- Wedges: Ball position generally in the center or slightly back of center.
- Practice: Step into your setup, aligning your feet with the foot line stick and placing the ball precisely at the intersection of the target line and ball position sticks.
- Observe: Notice how different ball positions feel and affect your contact and trajectory.
This drill helps you ingrain the correct ball position for each club, leading to more consistent strikes.
3. The "Swing Path Gate" Drill
This drill helps you control the direction your clubhead travels through impact, directly influencing slices and hooks.
- Issue: Out-to-in (slice) or in-to-out (hook) swing path.
- Reason: Body and club moving off the intended plane or path.
- Fix: Creating a physical "gate" that forces the club on the correct path.
- The Drill:
- Setup Target Line: Place one alignment stick on the ground as your target line.
- Place "Inside" Gate Stick: For a neutral-to-slight-in-to-out path, place a second alignment stick about 6-8 inches *inside* the target line stick and about 1-2 inches *behind* the ball.
- Place "Outside" Gate Stick: Place a third alignment stick (or use the foot line stick if you only have two) about 6-8 inches *outside* the target line stick and about 1-2 inches *in front* of the ball.
- Create the "Gate": The space between the inside and outside sticks creates a narrow channel, or "gate," through which your clubhead must pass just after impact.
- Swing: Make slow, controlled swings, focusing on guiding your clubhead through the gate. If you hit an outside stick, you're likely coming over the top. If you hit an inside stick, you're likely swinging too far from the inside.
- Adjust: Gradually increase swing speed as you become more consistent.
This drill provides immediate, tactile feedback on your swing path. It's excellent for golfers struggling with a persistent slice or hook.
4. The "Chubbs Line Test" (Practical Checkpoint & Named Drill)
This is a quick, practical checkpoint you can perform at any point in your practice or even on the course (before your shot, of course). It helps you verify your target line awareness.
- Issue: Misjudging the target line from behind the ball.
- Reason: Optical illusions, lack of a clear intermediate target.
- Fix: An objective, repeatable method to confirm your aim.
- The Drill/Test:
- Choose Your Target: Select a specific target in the distance.
- Place Your Ball: Set your ball down as if you're about to hit it.
- Identify Intermediate Target: From behind the ball, pick an intermediate target about 1-2 feet in front of your ball that lies directly on your intended target line. This could be a specific blade of grass, a discolored spot, or a small divot.
- Set Up: Walk into your setup, aligning your clubface first to that intermediate target, then aligning your body parallel to the line formed by the ball and the intermediate target.
- The Test: Once you're fully set up, without moving your feet or body, place an alignment stick on the ground *just in front of your clubface*, pointing directly at your intermediate target and extending towards your main target.
- Step Back and Evaluate: Step behind the alignment stick and observe if it is truly pointing at your main target. Many golfers will be surprised to see their initial aim was off.
- Adjust and Repeat: If it's off, adjust your internal aiming system and repeat the process until you consistently place the stick on the correct line.
This test is a powerful way to train your eyes and body to correctly perceive the target line. Make it a routine part of your pre-shot process.
5. The "Plane Check" Drill (Vertical Stick)
Understanding and refining your swing plane is critical for consistent contact and power.
- Issue: Too steep or too shallow a swing, leading to inconsistent contact or directional issues.
- Reason: Club moving off the ideal plane during the backswing or downswing.
- Fix: A visual and physical reference for the correct swing plane.
- The Drill:
- Setup: Stand normally, holding an iron. Place an alignment stick vertically into the ground about 6-12 inches behind you, parallel to your target line, and angled so its top points roughly towards your shoulder. The bottom of the stick should be just outside your heel.
- Backswing Check: As you take your backswing, try to keep the club shaft parallel to the vertical alignment stick at various points (e.g., when the club is parallel to the ground, at the top of the backswing). This helps prevent the club from getting too flat or too upright.
- Downswing Check: On the downswing, aim to bring the club down on a similar plane, avoiding dropping it too far inside or coming over the top.
- Practice: Make slow, deliberate swings, focusing on the relationship between your club shaft and the vertical stick. You shouldn't hit the stick, but it should serve as a guide.
This drill provides a clear visual for your swing plane, helping you identify and correct deviations.
6. Short Game Specific Drills (Putting & Chipping)
Alignment sticks aren't just for full swings. They are incredibly effective for the short game.
Putting Alignment Drill
- Issue: Pushing or pulling putts, inconsistent start line.
- Reason: Misaligned putter face or body.
- Fix: Precise visual guidance for setup and stroke.
- The Drill:
- Target Line: Lay one stick on the ground pointing directly at the hole.
- Putter Path: Lay a second stick parallel to the first, creating a narrow "channel" just wide enough for your putter head to swing through. This ensures a straight back-and-through stroke.
- Foot Line (Optional): Use a third stick for your foot alignment if needed.
- Practice: Focus on keeping your putter face square to the target line stick at address and throughout the stroke. The channel prevents an arcing stroke that might pull or push the ball.
Chipping & Pitching Alignment Drill
- Issue: Fat/thin chips, directional misses.
- Reason: Inconsistent setup, especially weight distribution and alignment.
- Fix: Clear visual cues for a consistent short game setup.
- The Drill:
- Target Line & Foot Line: Set up your "Parallel Tracks" as you would for a full swing, but adjust your stance width for chipping.
- Weight Distribution: Place an alignment stick diagonally across your feet, from the heel of your trail foot to the toe of your lead foot. This helps you feel the proper forward weight distribution for chipping.
- Practice: Focus on a compact swing, ensuring your body alignment is square and your weight remains forward.
Integrating Alignment Sticks into Your Routine
Don't just do these drills once. Make them a consistent part of *every* practice session.
- Warm-up: Start with the "Parallel Tracks" drill to ingrain proper setup before hitting any balls.
- Specific Focus: Dedicate a portion of your practice to one specific drill (e.g., the "Swing Path Gate" for 15-20 minutes).
- Cool-down/Check: End your session with the "Chubbs Line Test" to reinforce your aiming skills.
- No Ball Practice: Many of these drills can be done without hitting balls, focusing purely on the movement and alignment.
Consistency is key. If you are struggling with one pattern, upload a clear swing at /upload for a video-informed Chubbs AI review, or use /coach to add the miss, club, goal, and feel. The AI suggestion is a practice test, not a human-coach review.
Quick Checklist for Your Next Practice Session
- Target Line Stick: Is it pointing exactly at your chosen target?
- Foot Line Stick: Is it perfectly parallel to your target line stick?
- Body Alignment: Are your feet, hips, and shoulders aligned with the foot line stick (parallel to target)?
- Ball Position: Is the ball consistently placed for the club you're using?
- Swing Path (if using gate): Is your club passing through the gate without hitting the sticks?
- Swing Plane (if using vertical stick): Is your club maintaining the desired plane?
- Chubbs Line Test: Did you confirm your aim before stepping into the shot?
Frequently Asked Questions (FAQ)
Q: How many alignment sticks do I need? A: Two is the minimum for most basic drills (target line and foot line). Three is ideal for more advanced path or ball position drills.
Q: Can I use anything else instead of alignment sticks? A: While anything straight can technically work (e.g., old golf shafts, garden stakes), dedicated alignment sticks are designed for visibility, durability, and safety on the range. They are inexpensive enough that there's little reason not to use them.
Q: Should I always use alignment sticks when I practice? A: Yes, especially at the beginning of your practice session and when working on specific alignment or path issues. They provide invaluable visual feedback that helps ingrain proper habits faster. Once you feel confident, you can reduce their use, but always come back to them for a "check-up."
Q: My alignment looks good with sticks, but my shots are still off. What's next? A: If alignment is consistently correct, track start line, curve, and contact before changing mechanics. Use /upload for one video-informed Chubbs AI checkpoint or /coach to add the miss and goal. For professional analysis, work with an independent qualified golf professional in person.
Q: How do I know if my alignment sticks are truly parallel? A: The best way is to set your target line stick first, then use your club or another straight edge to visually confirm the second stick is equidistant from the first along its entire length. Over time, your eye will become better at judging parallel lines.
Q: Can alignment sticks help with my tempo? A: Indirectly. By removing alignment as a variable, you can focus more on the rhythm and flow of your swing without having to compensate for an off-target setup. However, they are not a direct tempo training tool.
Conclusion
Alignment sticks are not just for beginners; they are a vital tool for golfers of all skill levels. They offer objective feedback, helping you build a consistent setup and swing path, which are the cornerstones of reliable ball striking. By integrating these simple drills into every practice session, you'll eliminate guesswork, build solid fundamentals, and ultimately, hit more shots on your intended line. Commit to consistent use, and you'll see a noticeable improvement in your game. Straight lines lead to straight shots.
